
Why Did Our Classroom Hydroponics Air Pump Back-Siphon and Flood the Floor?
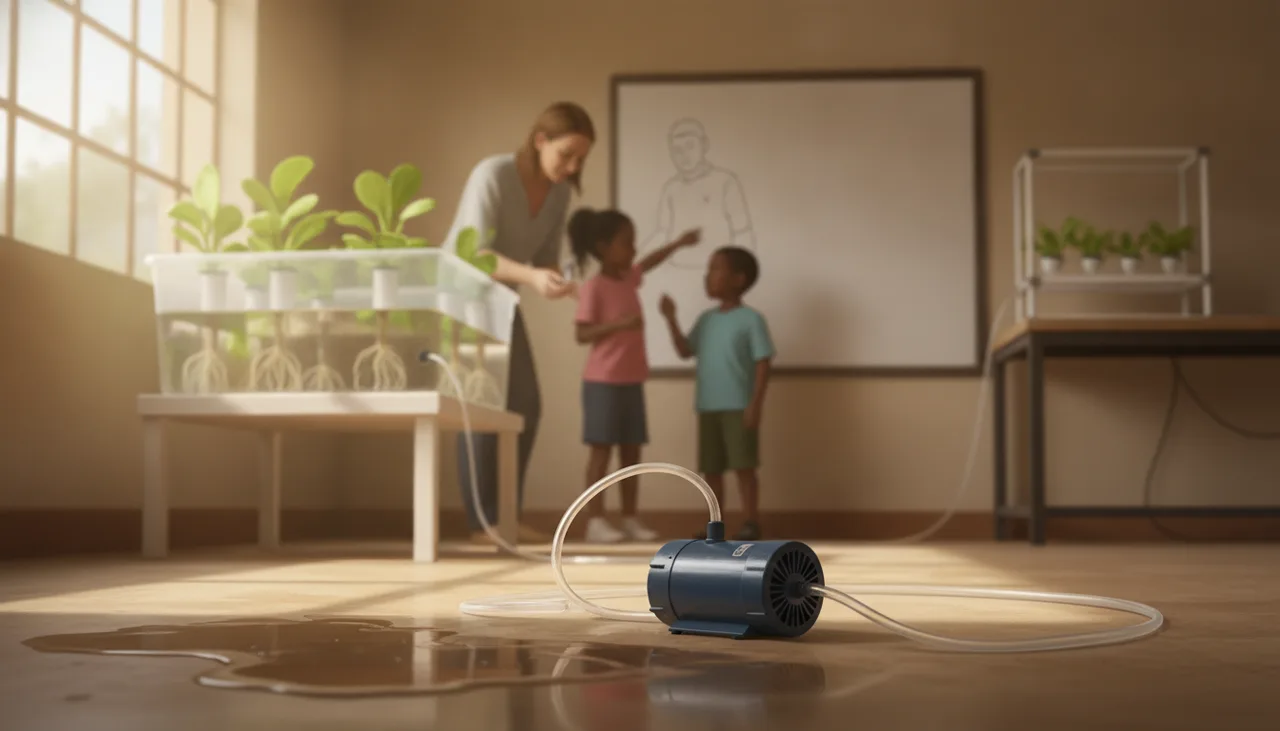
When an air pump sits below your reservoir's water line, a sudden power cut turns your air tubing into a siphon. Mineral salt deposits regularly jam cheap check valves open, making physical elevation your only reliable safeguard.
Your hydroponics air pump back-siphoned because it was positioned lower than the water level in your reservoir when the power cut out. When power to an electromagnetic diaphragm pump drops—whether from a tripped circuit, a custodial cleaner unplugging the strip, or sudden load shedding—positive air pressure instantly collapses. Hydrostatic pressure in the reservoir pushes nutrient solution backward into the bubbler, over the rim of the tank, and down the airline tubing directly into the pump housing, dumping tens of litres onto your classroom floor.
If you installed a standard plastic aquarium check valve and it still flooded, the culprit is almost certainly mineral crystallization. In hydroponics, check valves are not operating in clean fresh water; they are handling a concentrated salt bath that systematically compromises mechanical seals.
The Physics of the Back-Siphon
To understand why air tubing suddenly behaves like a drainage hose, look at what happens inside the line while the pump is running versus the second it halts.
While running, an electromagnetic diaphragm or piston pump generates continuous positive pressure, forcing air down the tubing, overcoming the hydrostatic pressure of the water column, and escaping through the air stone pores. This continuous flow keeps water out of the line entirely.
The moment electricity cuts, three things happen in rapid sequence:
- Positive pressure drops to zero: The diaphragms stop oscillating instantly. There is no longer an active mechanical barrier holding back the liquid at the air stone.
- Air cools and contracts: The compressed air inside the submerged tubing rapidly cools down to the temperature of the nutrient solution, contracting in volume and producing a slight initial negative pressure drop inside the tube.
- Hydrostatic head takes over: The water level in the reservoir sits higher than the pump on the floor or bottom shelf. Gravity exerts downward pressure on the water column above the air stone ($P = \rho g h$). That pressure forces water into the microscopic pores of the air stone and up the tubing.
Once liquid reaches the crest of your tank and starts traveling downward below the water line, gravity pulls the descending water column toward the floor. This establishes a continuous liquid siphon. It will not stop until the reservoir water level drops below the depth of the air stone or air breaks the seal.
Why Cheap Plastic Check Valves Fail in Hydroponic Systems
The standard advice sold with hobby kits is simple: insert a R15 plastic non-return check valve in the airline. In a freshwater fish tank, that valve might last eighteen months. In a hydroponic classroom, it frequently fails within weeks.
Hydroponic nutrient solutions are dense mixtures of mineral salts—calcium nitrate, potassium phosphate, magnesium sulphate, and iron chelates. When bubbles pop at the surface, or when liquid oscillates slightly inside the check valve during routine pressure changes, nutrient solution enters the valve chamber.
From there, failure happens along three mechanical paths:
- Salt crusting on the valve seat: As moisture inside the air line slowly evaporates during operation, dissolved fertilizer salts precipitate into hard micro-crystals. A standard check valve relies on a tiny silicone or rubber flap pressing flush against a plastic seat. A single grain of calcium salt sitting on that rubber gasket prevents a complete seal, allowing liquid to trickle past under siphon pressure.
- Biofilm accumulation: Classroom reservoirs warm up under grow lights or during hot school holidays. Microscopic algae and bacterial biofilms coat the inner walls of the tubing and the valve diaphragm, creating a sticky residue that causes delicate silicone flappers to stick in the open position.
- Degradation under ozone or warm air: Inexpensive rubber flaps harden when exposed to warm pump exhaust, losing their flexibility and failing to snap shut when back-pressure develops slowly.
The Check Valve Comparison
| Valve Mechanism | Failure Mode in Hydroponics | Reliability Rating |
|---|---|---|
| Standard silicone flapper (R10–R25 clear plastic) | Salt crystals stick between flapper and seat; thin rubber sticks open with biofilm. | Very Low (Classroom hazard) |
| Spring-loaded ball check (plastic or stainless) | Spring tension corrodes or mineral crusting locks the ball in the channel. | Low to Moderate |
| Diaphragm spring valve (industrial grade) | Requires higher cracking pressure; pump running temperature rises; eventual salt fouling. | Moderate |
| Physical air loop + elevated pump placement | None. Gravity cannot siphon uphill past the liquid's surface level. | Absolute |
The Correct Geometry: How to Protect Your Classroom Floor
Never rely on a mechanical valve as your primary barrier against water damage in an educational building with parquet flooring, server runs, or electrical trunking. Physics is more dependable than moving parts.
1. Mount the Pump Above the Highest Fill Line
The simplest, zero-maintenance rule is geometric: the air pump must always sit physically higher than the maximum water level of the reservoir.
If your deep-water culture (DWC) tub or nutrient film technique (NFT) sump tank is filled to a depth of 600 mm, the air pump should be mounted on a wall bracket or top shelf at 800 mm. If the power cuts, water will rise up the airline only until it matches the reservoir surface level. It cannot climb higher than its own supply without external work being done on it.
2. The High Anti-Siphon Loop
If your room layout or trolley design forces you to keep the pump on a bottom shelf or the floor, you must route the airline through a rigid high loop:
- Run the tubing vertically from the reservoir up to a point at least 150 mm to 200 mm above the highest rim of the container.
- Fix the tubing securely to the wall or frame at that peak point using a cable tie or saddle clamp. Do not let it sag over time.
- Run the line down to the floor pump from that apex.
- Install a quality check valve on the vertical leg descending to the pump as a redundant, secondary barrier—never the primary one.
For custom school trolley layouts or integrated science lab setups, Sheen Robotics designs systems with physical siphon breaks and pump isolation built into our classroom hydroponic systems to prevent overnight lab floods during unscheduled outages.
A Weekly Maintenance Routine for Classroom Systems
If you are managing an existing setup, add this two-minute check to your practical routine:
- Inspect airline clarity: If you see water beads or green algae creeping more than 100 mm up the tubing from the air stone, pull the line, flush it with clean water, and replace the stone.
- Test check valves under zero pressure: Unplug the pump manually while standing next to the system. Watch the airline. If water travels past the check valve even at a crawl, dispose of the valve immediately. Soaking crusted valves in white vinegar removes mineral scale temporarily, but silicone flaps often retain an imprint and fail to seat reliably afterward.
- Account for load shedding: If your school experiences regular Stage 2 to Stage 6 outages, expect multiple daily pump starts and stops. Each cycling event flexes check valves and nudges fluid up the line. Mechanical reliance without height clearance will eventually fail during a weekend shutoff.
Classroom hydroponics provides exceptional lessons in biology, chemistry, and automated sensing, but water follows the path of least resistance every time. Position your pumps above the waterline, elevate your loops, and treat mechanical check valves as temporary backup, not floor insurance.