Ten robot projects you can build in one lesson each
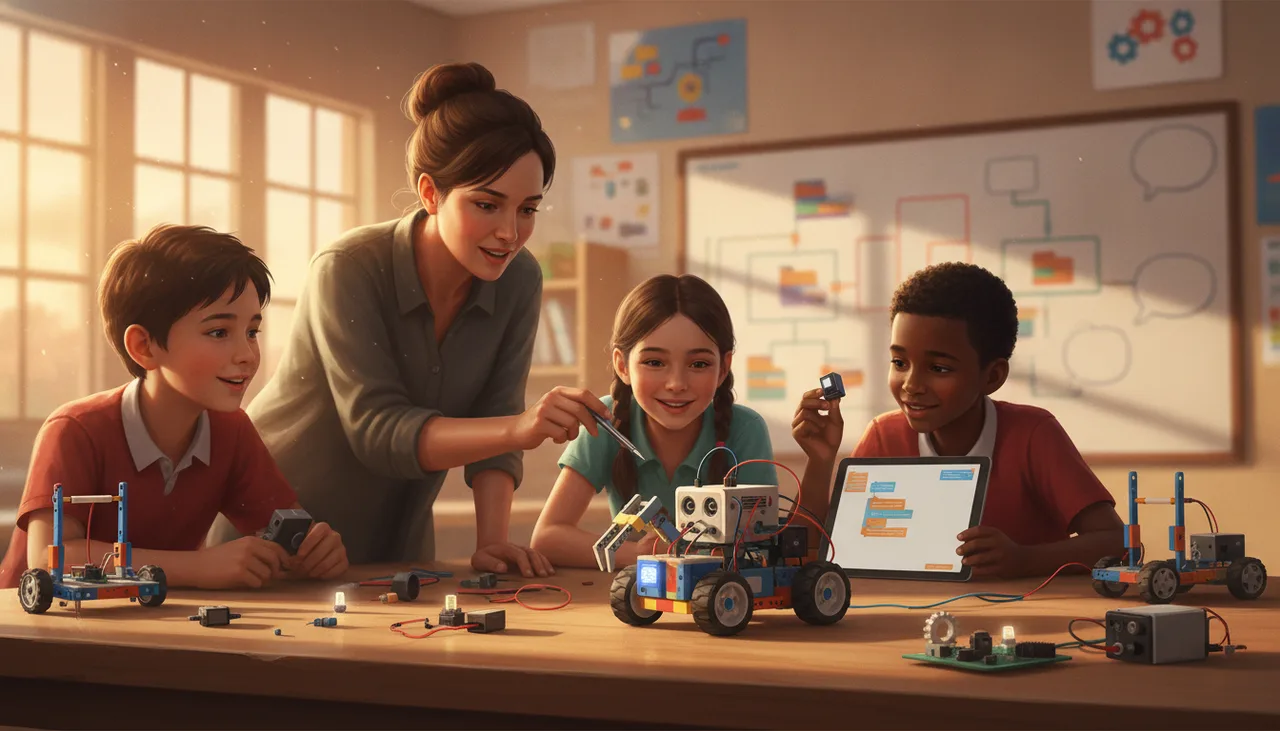
Ten robotics projects that each pair one sensor with one actuator, teach one clear concept, and fit a single 40 to 60 minute lesson. No exotic parts, with ways to dial each up or down.
You do not need a term-long build to teach real robotics. Each of the ten projects below pairs one sensor with one actuator, teaches one clear idea, and fits inside a single 40 to 60 minute lesson. None of them need exotic parts, and each one comes with a way to make it easier for a struggling learner or harder for one who finishes early.
Why one lesson, one concept works
Big multi-week projects sound impressive, but they lose a chunk of the class along the way. A learner who misses two lessons never catches up, and a build that is never finished teaches nobody. A small thing that works beats a large thing that half-works.
Single-lesson projects fix this in three ways. Everyone leaves with something that runs. Debugging stays bounded, because only one sensor and one actuator can be wrong. And each project isolates a single concept, so you can name exactly what was learned instead of gesturing at a pile of wires.
The shape of a 40 to 60 minute build
Almost every project on this list follows the same rhythm. Once your class knows the rhythm, you can drop in a new sensor and actuator each week without re-teaching the format.
- First 5 minutes: show the finished thing working. No code, just the effect. This is the hook.
- Next 10 minutes: wire the sensor and the actuator, and test each one alone. A light that blinks and a sensor that prints a number. Nothing clever yet.
- Middle 20 to 25 minutes: build the logic in small steps and test after every step. Sensor reads, decision is made, actuator responds.
- Next 10 minutes: differentiate. Fast finishers get the harder version below; anyone stuck gets the easier one.
- Last 5 minutes: pack up and answer one question out loud. Ask what the sensor decided and what the actuator did about it.
Ten projects, ten concepts
Each row is a full lesson. The pairing is deliberate: one input, one output, one idea. The last column shows how to shift the difficulty without changing the parts.
| Project | Sensor to actuator | Concept it teaches | Easier / harder |
|---|---|---|---|
| Reaction timer | button to screen and buzzer | variables and measuring time | Easier: just light an LED on press. Harder: keep the best of five tries. |
| Automatic night light | light sensor to LED | if/else with a threshold | Easier: one fixed cut-off. Harder: add a gap so it does not flicker at dusk. |
| Reverse parking beeper | ultrasonic to buzzer | mapping distance to beep rate | Easier: one beep under 10 cm. Harder: a solid tone when very close. |
| Light theremin | light sensor to buzzer | scaling one range onto another | Easier: three fixed notes. Harder: a full musical scale. |
| Electronic dice | button to screen | random numbers | Easier: show a number 1 to 6. Harder: draw the pips. |
| Traffic-light controller | timer to three LEDs | sequences and states | Easier: fixed timing loop. Harder: add a pedestrian button. |
| Servo gauge | light sensor or dial to servo | proportional control | Easier: two positions. Harder: a smooth sweep with end stops. |
| Shake counter | motion sensor to screen | counting and debouncing events | Easier: count any movement. Harder: ignore small jitters. |
| Colour guesser | colour sensor to screen or LED | classification by comparison | Easier: red or not red. Harder: name four colours. |
| Obstacle-avoiding rover | ultrasonic to motors | the sense, decide, act loop | Easier: stop at a wall. Harder: turn and carry on. |
Where to start
If this is a new class, begin with the automatic night light. It is the cleanest possible if/else: read a number, compare it to a threshold, switch an output. Once learners trust that pattern, every other project is a variation on it.
The reaction timer is the one to reach for when energy dips, because it is instantly competitive and the whole idea of storing a value in a variable suddenly matters. And the obstacle-avoiding rover is the one most learners remember, because it is the first time the machine appears to decide for itself. Under the hood it is only the sense, decide, act loop that sits at the centre of all robotics. In our academy classes we build these on the sheenbot∞ board, but any microcontroller with the same sensor and motor headers will run the identical logic.
Keep the parts list boring
Every project here runs on standard components: a handful of LEDs and resistors, one buzzer, one ultrasonic sensor, a light sensor, a colour sensor, one servo, a pair of small motors, jumper wires, and a board. Nothing here is hard to source, and nothing is single-supplier.
Two practical rules keep a class set alive. Buy doubles of the cheap consumables, because jumper wires and LEDs are what actually fail; budget roughly 10 to 15 percent of the kit cost for spares. And standardise. A class set of ten identical kits means one wiring diagram serves the whole room, and a swap during a lesson takes seconds. You can build kits from parts in the store, or use whatever compatible components you already have in the cupboard.
Running them in class
These ten scale from a single taster to a full programme. One project makes a complete trial lesson for a child deciding whether robotics is for them. Ten projects fill a term of weekly classes with one concept each. And with the December holidays coming up, a short sequence of them makes a solid holiday workshop, where a day is long enough to build two or three and still have time to break and fix them.
Takeaway
Pick one sensor, one actuator, and one idea. Build the smallest version that works, then dial it up or down to fit the learner in front of you. Ten lessons like that teach more real robotics than one project that never quite gets finished. For more build write-ups, keep an eye on the newsroom.
What age are these for?
Most work from about age nine upward. Younger learners do well with the night light, dice and traffic light; the rover, servo gauge and colour guesser suit older or more confident groups. The differentiation column is there so one project can serve a mixed-age room.
What if a project runs over?
Stop at a working checkpoint rather than an unfinished harder version. A night light that switches on is a finished lesson even if nobody reached the anti-flicker step. Note where each learner stopped and let them resume next time, since the parts and wiring do not change.