The sensors worth buying first: a priority list for classrooms
Buy classroom robotics sensors by lessons per rand: distance first, then light, temperature and humidity, then buttons. Leave exotic sensors for later and plan for breakage.
If you are kitting out a robotics classroom on a tight budget, buy sensors in the order that gives you the most lessons per rand. Start with distance, light, and temperature and humidity, plus a couple of buttons. Leave the exotic parts for later. Here is the priority list, and why each item earns its place.
Before you spend anything, check what your controller already includes. The sheenbot∞ board ships with several inputs built in, so you may not need to buy some of these as separate parts. Everything below assumes you are adding external sensors to stretch what a class set can do.
The order to buy in
- Distance (ultrasonic) — obstacle avoidance, parking, and simple radar.
- Light (LDR) — line following, day and night detection, brightness meters.
- Temperature and humidity — weather stations and real-world data logging.
- Buttons and touch — menus, counters, and reaction games.
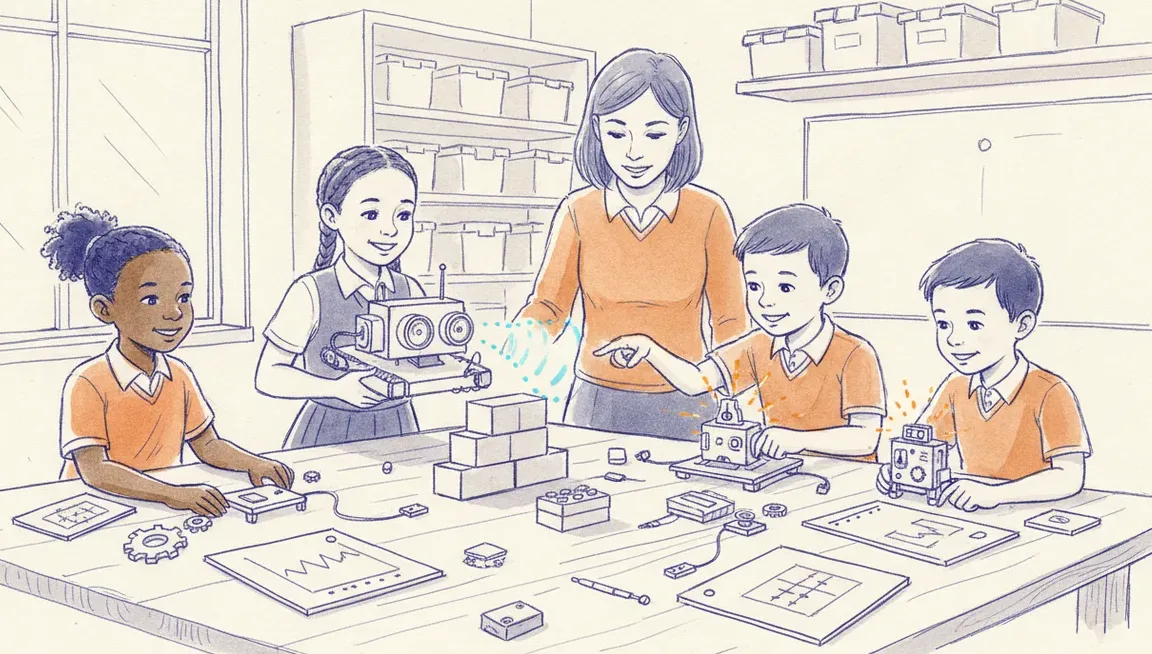
Everything after these four is a nice-to-have. An ultrasonic distance sensor is the workhorse of the room. It turns an abstract idea, measure the world then decide, into something a learner sees in one lesson: wave a hand and the robot stops. From there you can build parking assistants, tape-measure games, and obstacle courses that fill a term. No other single part unlocks as many projects for the money, which is why it sits at the top.
Light, temperature and humidity
A light sensor is the cheapest way to teach thresholds: above this value it is bright, below it the room is dark. That maps neatly onto line-following robots and onto everyday ideas like a streetlight that comes on at dusk, a useful hook on a load-shedding evening. Temperature and humidity sensors then move learners into data. A simple classroom weather station, logged over a week, teaches graphs, averages, and why a reading needs a unit. These lessons run happily offline, which helps when the power is out.
Do not skip buttons
Buttons and touch pads look dull next to a distance sensor, but they are the input that makes a project feel finished. A button turns a demo into a game: press to start, press to score, press to reset. They are cheap, hard to break, and they teach debouncing and simple state, ideas that carry all the way to the senior grades.
What to leave until later
Colour sensors, gesture sensors, microphones, gas and air-quality modules, and separate accelerometers are all fun, but they are fussy to wire, easy to misread, and they often duplicate something the board already does. Buy one of each as a demo for curious learners, not a class set. You will get more mileage from a second distance sensor per group than from an exotic part that sits in a drawer.
Storage and breakage notes
Sensors die from handling, not from use, so budget for it. A sensible rule is to keep roughly one spare for every ten of a given sensor, and to treat jumper wires as consumables, since they fail far more often than the sensors do.
- Store each sensor type in its own labelled container, wires coiled, not loose in a shared box.
- Keep a silicone packet in the temperature and humidity bin; damp readings drift.
- Colour-code jumper leads and count them back in at the end of every lesson.
- Write the class set number on each board and sensor so parts return to the right kit.
- Keep a small tub of known-good spares so a dead wire never stops a lesson.
This is the order we reach for when setting up a room. If you want to watch which sensors hold a group's attention before you spend, a holiday workshop or a trial class is the fastest way to see them in real hands. When you are ready to stock up, the parts above are all in the store, and they work with the same board the classes use.