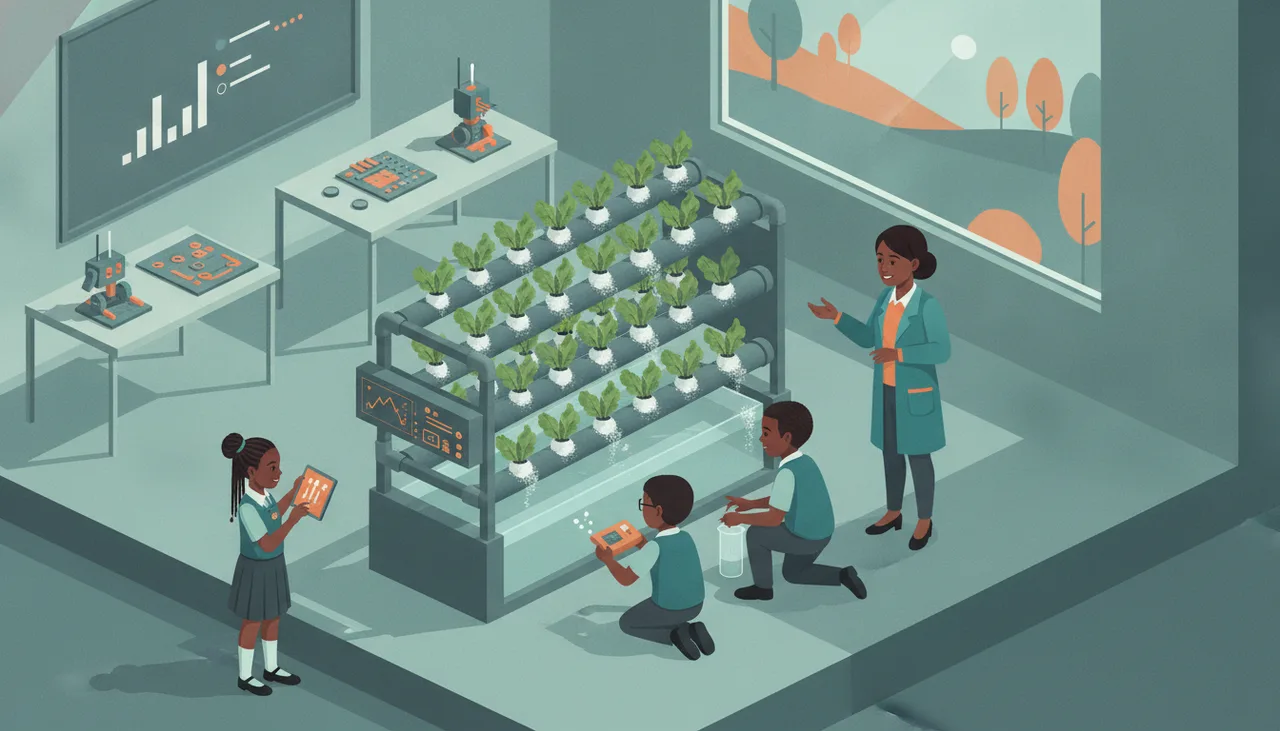
Hydroponics science projects: experiments with real data
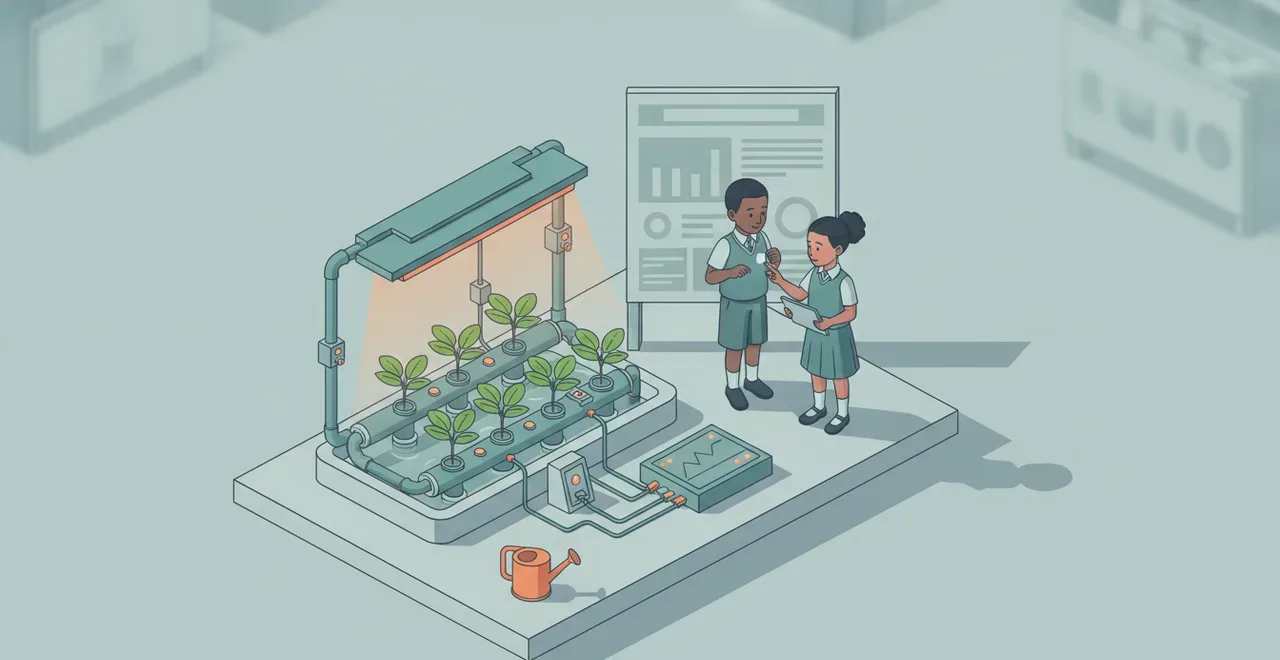
A hydroponics science fair project is a fair test: change one thing, control the rest, measure it. Eight ready-to-run experiment designs plus a write-up scaffold judges respect.
A strong hydroponics science fair project is really a fair test: you change one thing, hold everything else steady, and measure what happens. Hydroponics suits this well because the growing conditions are numbers you set rather than weather you wait on. Light hours, nutrient strength, spacing and oxygen are all under your control. Below are eight fair-test designs you can run on a windowsill or a small rack, plus how to log and graph the data so your results survive a judge's questions.
The three variables every fair test needs
Before a single seed goes in, write down your three kinds of variable. Getting these right is what separates a science project from a gardening display.
- Independent variable is the one thing you deliberately change, such as hours of light per day.
- Dependent variable is what you measure in response: height, leaf count, or fresh mass at harvest.
- Controlled variables are everything you keep the same so the change is fair: water temperature, pH, seed batch, growing medium and reservoir volume.
Run at least two or three treatments and use three plants per treatment. Three plants let you average out a weak seedling, which is the difference between a fluke and a result. A single term is usually enough time for fast crops like lettuce, basil, spinach or microgreens.
Eight experiments you can actually run
Each row changes exactly one variable. Pick one, and resist the urge to test two things at once, because then you cannot say which one caused the change.
| Experiment | What you change | What you measure | Keep the same |
|---|---|---|---|
| Light hours | Daily light, e.g. 12 vs 16 vs 20 hours | Height and leaf count | Light distance, EC, temperature |
| Nutrient strength | EC of the solution: low, medium, high | Fresh mass at harvest | pH, light hours, medium |
| pH | Solution pH, e.g. 5.0, 6.0, 7.0 | Leaf colour and mass | EC, light, temperature |
| Plant spacing | Gap between plants in the channel | Mass per plant | Light, nutrient, crop |
| Aeration | Air pump on vs off | Root length and colour | Nutrient, temperature, light |
| Water temperature | Cool vs warm reservoir | Growth per week | EC, pH, light hours |
| Light colour | White vs red-and-blue LEDs | Height and leaf area | Total light hours, distance |
| Growing medium | Rockwool vs clay pebbles vs coco coir | Germination time and height | Nutrient, light, temperature |
The EC, pH and light figures above are starting points for your method, not the answers you should expect. Your job is to find out what actually happens and report it honestly, even if the plants disagree with your hypothesis.
Measuring and graphing your data
Judges reward a graph far more than a single end-of-project photo. Take the same measurement on the same day each week, and log the exact numbers rather than "looks taller". A ruler and a kitchen scale cover height and mass, and a basic EC and pH pen covers the solution.
For the readings that drift through the day, such as temperature, EC and light level, a microcontroller earns its keep. A board like the sheenbot∞ can read a probe and record a value every few minutes, which turns a once-a-week guess into a proper line on a graph. Students often build their first sensor-logging rig at one of our school-holiday workshops, and the board and probes are available in the store if you want to set one up at home.
Two graph types cover most projects: a line graph of a measurement over time, for growth week by week, and a bar chart comparing the final result across treatments, for mass under 12, 16 and 20 hours of light. Label your axes with units, and note any load shedding. A pump or light that was off for four hours is part of your data, not something to hide.
The write-up scaffold judges expect
Most South African expos, including the Eskom Expo for Young Scientists, want the same backbone. Fill in each heading in order:
- Aim: one sentence on what you are testing.
- Hypothesis: your prediction and why, written before you start.
- Method: enough detail that someone else could repeat it exactly, including your controls.
- Results: your table and graphs, with a line or two describing what they show.
- Discussion: what the data means, what went wrong, and what you would change.
- Conclusion: does the evidence support your hypothesis? Yes, no, or partly.
Common mistakes to avoid
- Changing two variables at once, so no single cause can be isolated.
- One plant per treatment, which leaves you no way to average.
- Measuring by eye instead of recording numbers.
- Topping up the reservoir without checking EC and pH, which quietly changes your controlled variables.
- Starting too late. Germination and a fair run need a few weeks, so begin early in the term.
Takeaway
The best hydroponics projects are simple: one clear variable, honest measurements, and a graph that tells the story. Get the fair test right and even a windowsill of lettuce becomes real science. If you would like a hand turning one of these designs into a build, book a trial class and we can help you plan the rig and the data logging.
FAQ
How long should the experiment run?
Aim for four to six weeks of growth after germination. That is long enough to see a real difference between treatments and to plot several points on a graph, and it fits inside a single school term.
Which experiment is easiest for a first-timer?
Light hours or nutrient strength. Both are easy to control, cheap to set up, and usually show a clear difference, which keeps a younger scientist motivated.
Do I need expensive sensors?
No. A ruler, a scale and a basic EC and pH pen are enough for most projects. Automatic logging with a microcontroller is a bonus that makes your graphs richer, not a requirement for a strong result.