How to Clean and Sterilise Hydroponic Clay Pebbles Between School Terms
Reusing expanded clay pebbles requires stripping out trapped organic root matter before sterilising with heat or hydrogen peroxide, saving your school consumables budget without risking plant pathogens.
You should never discard expanded clay pebbles (LECA) at the end of a school term. Throwing them out turns a permanent capital investment into a recurring operational expense that drains an already tight department budget. With a straightforward mechanical wash to clear trapped root fragments followed by sterilisation using either boiling water or food-grade hydrogen peroxide, the pebbles can be reused indefinitely without transferring root rot or fungal spores to your next class.
Why Trashing Clay Pebbles Wrecks School Consumables Budgets
Expanded clay pebbles are kiln-fired ceramic aggregates. Unlike peat, coco coir, or rockwool plugs, clay pebbles do not degrade, compress, or decompose during a growing cycle. Yet every December and July, school maintenance skips across South Africa fill up with used LECA simply because cleaning them feels like an unmanageable chore for tired teachers during pack-down week.
Replacing clay pebbles for even a modest classroom system—such as four flood-and-drain Dutch buckets or a small NFT system with net cups—requires between 25 and 50 litres of medium. In South African commercial horticultural retail, a 50-litre bag of horticultural LECA reliably costs several hundred rands. Re-purchasing aggregate term after term quickly cannibalises money that should be funding pH replacement probes, EC calibration buffer solutions, submersible nutrient pumps, or microcontroller kits.
The only valid reason to replace clay pebbles is if you cannot remove the biological matter inside their porous structure. When dead roots remain trapped inside LECA pores, they rot in the dark, deoxygenating the nutrient film and harbouring Pythium (damping-off and root rot) that will systematically wipe out your next cohort’s seedlings within seven days of transplanting.
The Core Hazard: School Plumbing and Fine Grit
Before touching a single sterilising agent, you have to solve a mechanical problem: clay aggregate sheds heavy ceramic silt and broken gravel chips during handling. If learners dump buckets of used LECA into a standard science laboratory sink or home economics drain, the heavy clay silt settles in the P-trap and sets like weak mortar. Within months, the classroom waste line is completely choked.
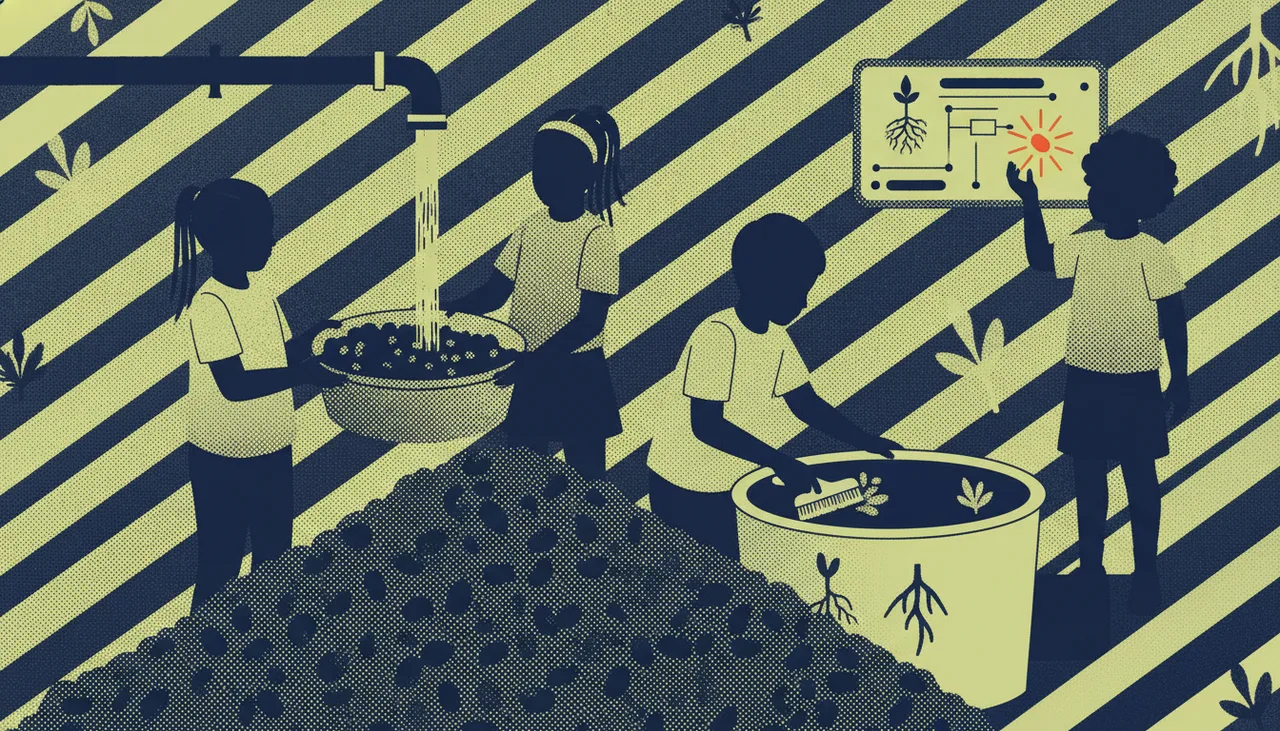
Never wash clay pebbles directly over an open school sink drain. All initial cleaning must happen outside on grass or bare ground, or inside large builder's trugs using an internal perforated colander or wire mesh basket that catches solids before any wastewater reaches a drain.
Step 1: The Dry Separation and Mechanical Strip
Cleaning begins before the pebbles ever touch fresh water.
- Let the pots dry out slightly: Shut off nutrient irrigation 24 to 48 hours before the end of the term. Damp roots cling tenaciously to the textured, porous surface of the pebbles; dried roots turn brittle and separate with far less abrasion.
- Bulk extraction: Pull the mature plant stalks upwards. In an active root net, this will lift half the pebbles out in a single clump. Shake and massage the root ball over a shallow storage bin to drop loose pebbles back into the container.
- The bucket rub: Transfer the separated pebbles into a 20-litre builder's bucket filled halfway with municipal tap water. Using heavy-duty rubber washing gloves, submerge your hands and vigorously churn the pebbles against each other for two minutes. This frictional scrubbing tears away micro-roots and loosens the biofilm clinging to the aggregate exterior.
- Float the roots: Let the water settle for thirty seconds. Clay pebbles sink or rest suspended near the bottom; detached root fragments, perlite dust, and plant tissue float directly to the water's surface. Skim this organic mat off with an aquarium net or fine kitchen sieve and compost it.
Step 2: Sterilisation—Boiling Water vs Hydrogen Peroxide
Mechanical washing removes visible matter, but it leaves behind micro-pathogens, bacterial colonies, and algae cells embedded in the clay's interior capillary pockets. You have two reliable methods to sterilise them in a school environment. Bleach is deliberately excluded here: sodium hypochlorite absorbs into ceramic micropores and will steadily leach back into fresh nutrient water, stunting root tips and creating toxic chloramine fumes if handled carelessly by students.
| Method | Pros | Cons | Best For |
|---|---|---|---|
| Boiling Water | Zero chemical residue, free, 100% pathogen kill rate. | Requires a heat source; scalding hazard with learners around; practical only for batches under 15 litres. | Term-break prep done by the teacher or technician in a lab with a kettle or hotplate. |
| 3% Hydrogen Peroxide (H₂O₂) | Breaks down into pure water and oxygen; no toxic off-gassing; manageable at scale. | Requires procuring 3% or diluting 10-volume peroxide; ongoing liquid cost. | Large volumes (30L+) processed directly in big tubs with senior learners assisting. |
Protocol A: The Thermal Soak (Boiling)
If you run a compact setup, heat is the simplest, safest steriliser available:
- Transfer washed, sifted pebbles into a clean 10-litre stainless steel pot or an enamel wash basin.
- Cover the pebbles completely with rolling boiling water from the staff room urn or lab kettles.
- Let the aggregate sit submerged until the water returns to room temperature (at least 30 to 45 minutes). The thermal mass holds temperatures above 70°C long enough to denature fungal spores and bacterial proteins inside the deep pores.
- Drain the water through a mesh laundry bag or colander outside onto bare soil.
Protocol B: The Oxidative Soak (Hydrogen Peroxide)
For larger systems, heating dozens of litres of water during a sudden school load-shedding block is impractical. A cold oxidative bath is the classroom standard:
- Fill a 20-litre bucket with rinsed pebbles.
- Submerge the aggregate in clean water, then dose technical or pharmaceutical-grade hydrogen peroxide until you achieve an active concentration of approximately 1% to 1.5% H₂O₂ (if using 3% chemist peroxide, mix roughly 1 part peroxide to 1 part water; if using 35% food-grade concentrate, dilute 30ml per litre of water, ensuring teachers wear chemical goggles and nitrile gloves during mixing).
- Leave the aggregate to soak for 12 to 24 hours. The peroxide will foam actively as it oxidises remaining micro-fibres and biofilm.
- Pour off the remaining liquid into an ordinary storm drain. Because peroxide decays directly into benign oxygen and water, it introduces no residual poison into municipal wastewater.
Step 3: Salt Flushing and Off-Season Storage
Even after sterilisation, clay pebbles retain mineral fertilizer residues (calcium, magnesium, and ammonium salts) drawn deep into the ceramic matrix over weeks of nutrient cycling. If left unchecked, these crusts will dissolve into your next term's fresh water, spiking baseline electrical conductivity (EC) unexpectedly.
Rinse the sterilised pebbles one final time with fresh tap water until runoff water shows an EC reading roughly identical to your tap water source. If you run your school system using sensor-driven reservoirs or automated hydroponic growing beds, maintaining pure, un-crusted aggregate is essential for predictable automated dosing.
Never pack wet clay pebbles into airtight plastic containers or sealed black refuse bags. Trapped moisture combined with warm South African summer classrooms will cultivate anaerobic mildew within weeks, undoing your sterilisation work. Instead, spread the rinsed pebbles over a clean shade-cloth screen or perforated nursery tray in an airy courtyard. Once bone dry, pour them into woven polypropylene grain sacks or open-top crates. They will sit clean, sterile, and immediately ready for your next term's cohort to plant.