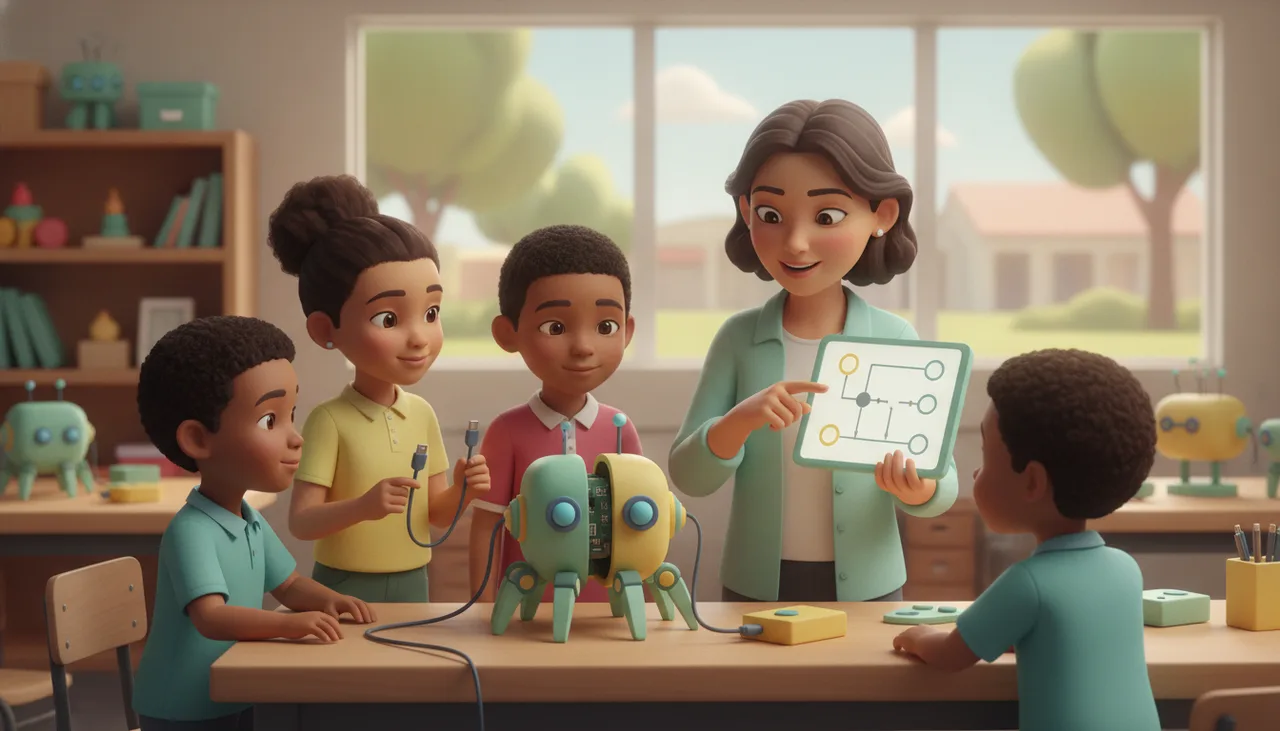
How to choose a robotics kit for an 8-year-old
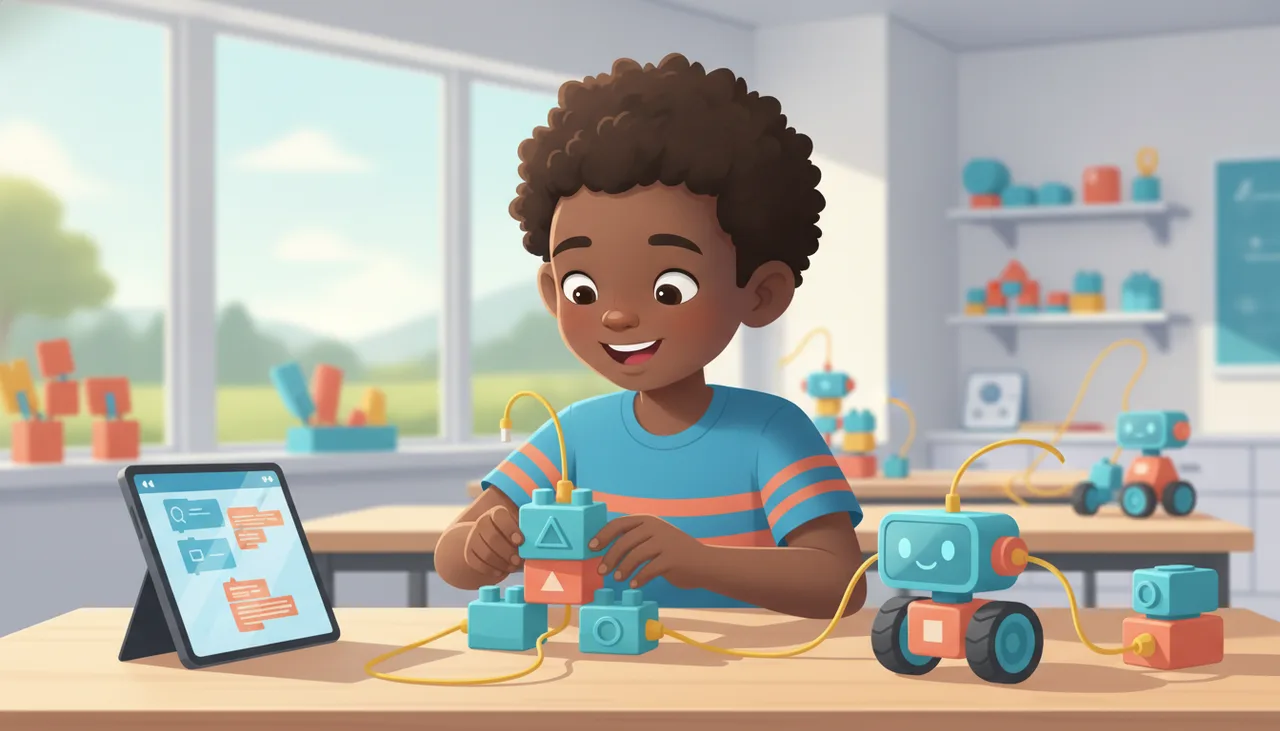
The best robotics kit for an 8-year-old skips soldering, uses block coding and chunky connectors, and favours sensors over speed. Here is what to look for and what wastes money.
The best robotics kit for an 8-year-old is one they can build without a soldering iron, program by dragging blocks, and keep using for two or three years as their skills grow. At this age the goal is not a fast robot. It is a machine a child can understand, change, and fix on their own. That points you toward chunky parts, clear sensors, and forgiving software rather than raw motor power or a huge parts count.
Below is what actually matters when you buy, and the mistakes that quietly waste money.
What an 8-year-old can actually manage
Fine motor skills are still developing at eight. Tiny screws, bare jumper wires, and breadboards lead to frustration and giving up. Reading is workable, but a dense 60-page manual is not. Attention holds for roughly 30 to 45 minutes, which is about one focused build-and-test session.
The practical takeaway: a good kit for this age gives quick feedback. A light, a beep, or a movement in the first session keeps a child interested. If the reward for an hour of work is a robot that only sits there, most eight-year-olds move on.
Six things to look for
Use this as a checklist while you compare kits, whatever the brand:
- No soldering, no bare wires. Parts should snap or screw together, and cables should have keyed plugs that only fit one way.
- Block-based coding. A Scratch-style or Blockly drag-and-drop editor matches how children this age think. Text languages come later.
- Chunky, forgiving connectors. Big ports survive rough handling and wrong guesses. Small delicate headers bend and break.
- More sensors than wheels. A robot that senses the world is far more interesting than one that only drives.
- Battery powered and rechargeable. Useful during load shedding, and there is no mains cable to trip over on the lounge floor.
- A clear growth path. The same hardware should still be useful when your child is ready for harder logic, and eventually a bit of text code.
Why sensors beat wheels
This is the criterion parents most often get wrong. A kit sold on speed and big wheels makes a remote-control car. It is fun for an afternoon, but there is little to program and little to learn. A kit with sensors teaches cause and effect, which is the real point of robotics at this age.
Look for a distance sensor, a line-following sensor, and something that reacts to light or sound. With those, a child can build simple if this, then that logic: stop before you hit the wall, follow the black line, turn when it gets dark. That is early programming, and it holds attention because the robot reacts to the real room around it.
Common wastes of money
Some of the most expensive kits are the worst fit for an eight-year-old. Watch for these:
- Hundreds of tiny pieces. Kits aimed at teenagers or adults look impressive in the box and overwhelm a younger child.
- App-only toys. A robot that does one scripted trick and cannot be reprogrammed is a toy, not a kit. The novelty fades in a week.
- Anything that needs soldering or breadboard wiring now. Save these for age eleven or twelve.
- The biggest bundle bought first. Do not buy the mega-set before you know your child sticks with it. Start small and add later.
- Pure racing or battle kits. Flashy, shallow, and quickly boring once the race is over.
The growth path, from blocks to text
The reason to think a few years ahead is money. Buying one platform that grows with your child is cheaper than replacing a kit every year. A sensible path looks like this: in the first year, block coding and simple sensors; in the second, more sensors and multi-step logic; by the third, an introduction to a text language such as Python on the same board. If the hardware you buy at eight cannot do that, you will be buying again at ten.
You can test whether the coding side clicks before you spend anything. A browser simulator lets a child write real robot code with no kit at all, so you learn whether they enjoy it first. Our free simulator is at verse-try, and it runs the same block coding a physical kit would use.
Where sheen kits fit
For the criteria above, our own answer is the sheenbot∞ board, which we designed for exactly this age group: block coding, keyed chunky connectors, a range of sensors, and a path into Python later on the same hardware. If you would rather see a child try it before buying, a single trial class at our Cape Town academy is a low-cost way to check the fit, and kits are available in the store once you know it lands. None of that is required to use the advice here. The checklist works with any brand you prefer.
Quick buying checklist
Before you pay, confirm the kit ticks these boxes:
- No soldering and no loose bare wires.
- Block coding, ideally with a free way to try the software first.
- At least two or three sensors, not just motors and wheels.
- Rechargeable battery power.
- A documented route from blocks to text code on the same board.
FAQ
How much should I budget in rand?
Start with an entry kit rather than the largest bundle, and set aside roughly 10 to 15 percent of the kit price for spare parts and a second battery. You can always add modules once you know your child is committed.
Is eight too young, or too old, for a first kit?
Eight is a good starting point for block coding and sensors. A confident six or seven-year-old can start with more parent help; a ten-year-old can move faster through the same kit and reach text code sooner.
Will this just be more screen time?
Robotics is screen time with a physical result. The child writes code on a screen, then watches a real robot obey or misbehave, then fixes it. The building, testing, and debugging happen off-screen, which is the part that sticks.