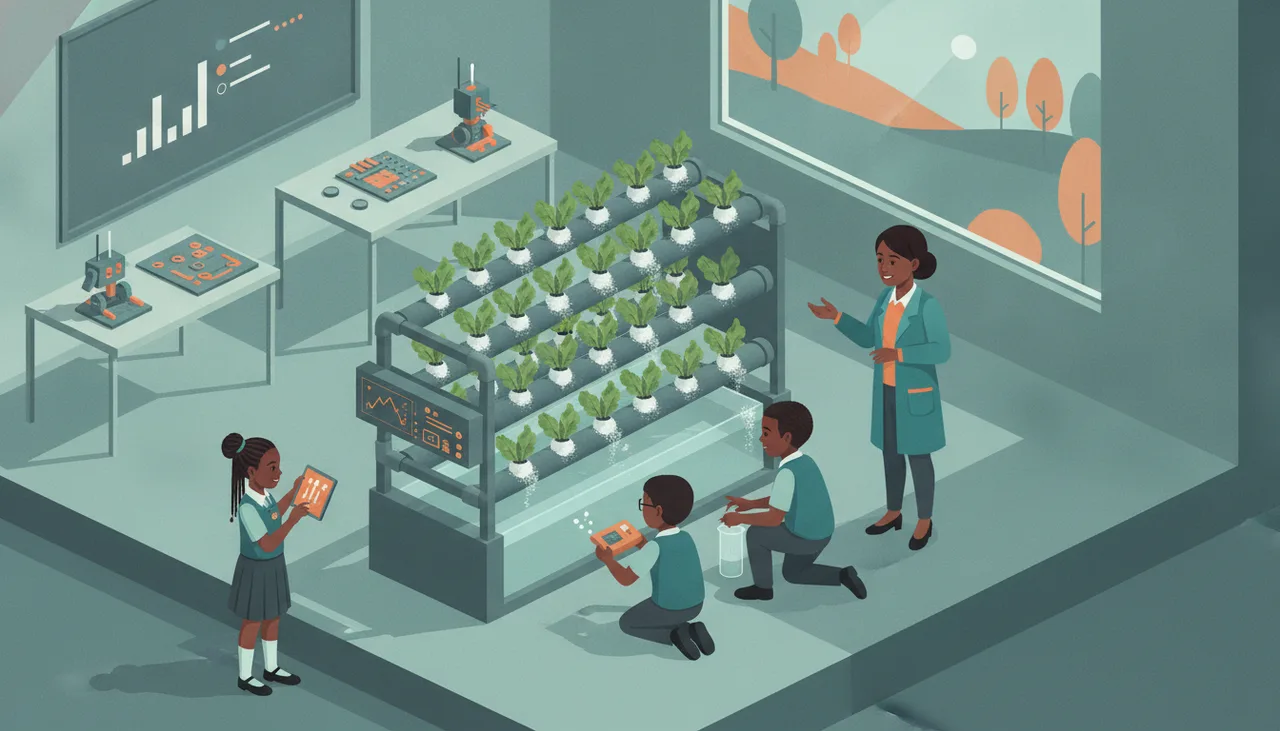
Classroom hydroponics: the complete teacher starter guide
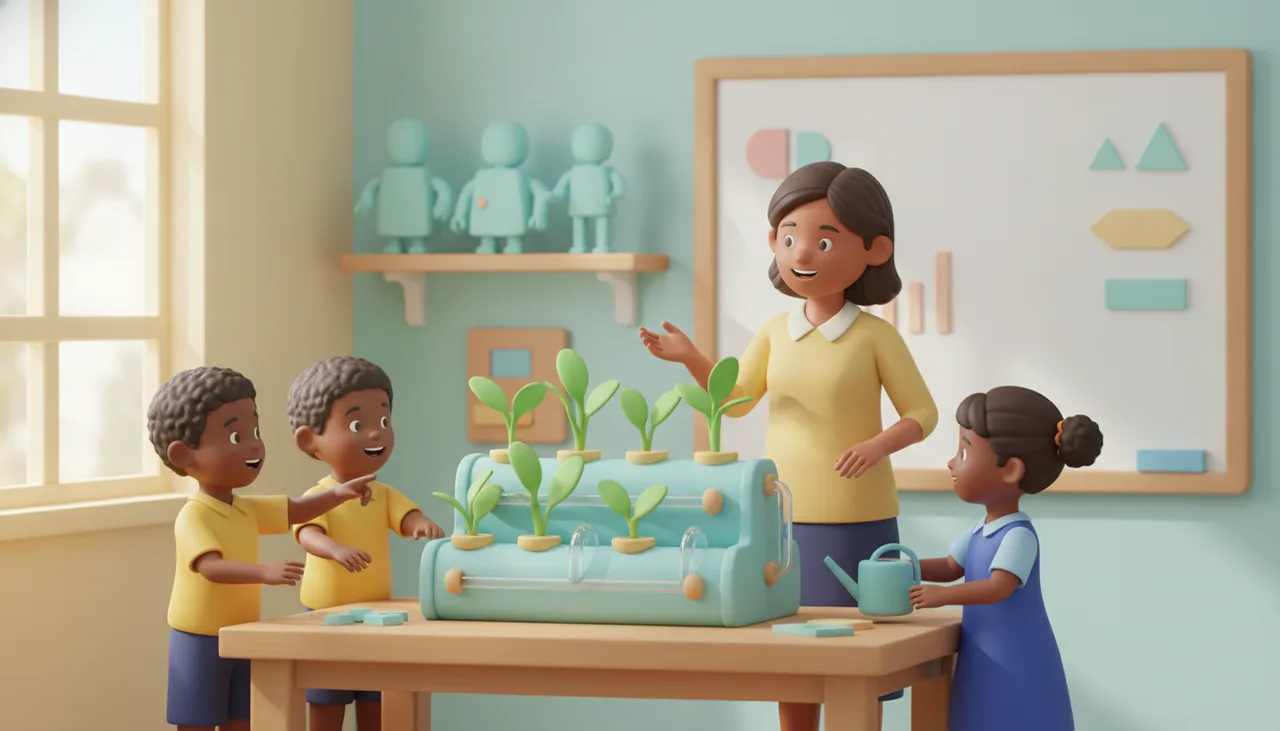
A vendor-neutral guide to starting hydroponics in your classroom: choosing a simple system, siting it, managing water and power, planning around SA school terms, and CAPS tie-ins.
TL;DR
- Start with a non-circulating method, either the Kratky method or a simple wick system. No pump, no power, very little to break.
- Site it in bright light, near a tap and a drain, on a surface you can wipe down and walk around.
- Leafy greens and herbs are the reliable first crops. Leave tomatoes, peppers and strawberries for a later term.
- Plan the calendar backwards from the holidays. With the long December break a couple of weeks away, that is your first real test.
- Tie it to CAPS Natural Sciences, Mathematics and Technology, and let learners keep the measurement log.
A classroom hydroponics project needs five things to go right: a system simple enough to survive a busy term, a spot with light and water, a plan for who feeds it, a crop that forgives mistakes, and a curriculum link so the time counts twice. Get those in order and a shelf of growing lettuce becomes one of the most watched corners of the room. This guide walks through each decision in the order a teacher actually faces it, and stays vendor-neutral so it works whatever equipment you use.
Start small and non-circulating
The biggest mistake in a first classroom system is choosing one with a pump. Pumps are the part that fails, and in a room that empties out every afternoon and every holiday, a failure you do not catch means dead plants. For a first year, choose a non-circulating method. These hold the roots in a static reservoir of nutrient water, so there is nothing to switch on and nothing to break.
The Kratky method is the classic starting point. Seedlings sit in net pots in the lid of a sealed container, roots reaching into the solution, and as the plants drink, the level drops and leaves an air gap the roots breathe from. You top it up, and that is close to the whole job. A wick system is similar, drawing solution up into the growing medium through a fabric wick. Both are cheap, quiet and hard to kill.
Leafy greens such as lettuce, spinach, rocket and Asian greens, plus herbs like basil and mint, grow fast and shallow and suit a static reservoir. Fruiting plants like tomatoes and peppers want more water movement, more light and more time than a school term comfortably gives, so save them until the class has one successful crop behind it.
How the common methods compare
The table below lays out the trade-offs so you can pick on purpose rather than by whatever a kit happens to include.
| Method | Setup effort | Power needed | Best first crops | Honest watch-outs |
|---|---|---|---|---|
| Kratky (non-circulating) | Low | None | Lettuce, herbs, greens | Not suited to large fruiting plants; cover the reservoir or algae takes hold |
| Wick system | Low | None | Herbs, small greens | Slower growth; wicks can clog and need replacing |
| Deep water culture | Medium | Air pump | Leafy greens | Stops working in an outage unless the pump is on backup; roots suffer in a hot room |
| Nutrient film technique | High | Water pump | Continuous salad crops | A pump failure can kill a channel within a day; needs the most monitoring |
| Vertical tower | Medium to high | Pump | Compact leafy crops | More parts to fail; check that the top sites get enough water and light |
A sensible progression is to run a Kratky container for a term, then add a powered system the following year once the routine is set.
Siting: light, surface and access
Where you put the system matters more than what you spend on it, and light comes first. A north-facing window in the Southern Hemisphere gives the most sun through the day, and for leafy greens that is often enough. If your only free wall is dim, a basic LED grow light on a plug timer keeps growth even through cloudy weeks. Either way, aim the plants at consistent light rather than a few hours of harsh afternoon glare that also cooks the reservoir.
The surface should be wipeable and level. Water and nutrient salts will spill, so a laminate table or a plastic tray under the system saves your floor. Level matters too, because a tilted reservoir drains unevenly and leaves some roots dry. Give yourself room to walk around it, because a class taking turns to measure needs more space than a shelf jammed in a corner offers.
Two access points decide how much of a chore upkeep becomes: a tap to fill from and a drain to empty into. Carrying buckets across a classroom gets old fast, and it is why well-intentioned systems quietly die. Site the whole thing within a short walk of both and refills stop being an event. Keep any electrics, timers or pumps clear of splashes and off the floor.
Water, nutrients and power
Municipal tap water is fine for hydroponics. If it smells strongly of chlorine, standing it overnight lets the chlorine off-gas before you mix nutrients, though for leafy greens that is a nicety rather than a rule. What plants cannot get from water alone is minerals, so hydroponics runs on a nutrient solution rather than plain water. A two-part hydroponic nutrient mixed to label strength covers a school crop without you needing to become a chemist.
Two measurements tell you almost everything. The pH decides whether roots can absorb the nutrients you added, and leafy greens like a slightly acidic band. Electrical conductivity, or EC, tells you how much nutrient is actually in the water. Cheap meters for both exist, and reading them twice a week is a science lesson in itself. If you have no meters at first, mix to label strength, keep the reservoir topped up, and add measurement later.
Power only matters if you chose a pumped system, and then you should plan for interruptions. Keep any air pump on a small battery backup, or run a non-circulating spare tray alongside so a power cut is a hiccup rather than a wipe-out. It is another reason the first classroom system is easiest with no power at all.
Planning around the school calendar
Hydroponics runs on a weekly rhythm, and so does a school, so plan the two together. Plants do not recognise term dates. Most South African schools close in the second week of December and reopen in mid-January, leaving a growing system unattended for roughly five weeks over the hottest part of summer. Reading this in late November, that break is the first thing to plan for, not the last.
A non-circulating system helps, because a well-filled Kratky reservoir can coast for a while without a top-up. Even so, before a long holiday the honest move is to harvest what is ready, empty and clean the reservoir, and start the next crop when everyone is back. Shorter between-term breaks are more forgiving, and a quick top-up usually bridges them.
Within a term, spread the responsibility so the system never depends on one person. A rotating roster of plant monitors, two learners a week, keeps upkeep light and gives everyone a turn. Put the simple jobs on the roster, checking the water level, topping up and recording the readings, and keep the judgement calls like adjusting nutrients with you. A lettuce crop fits inside a single term, so plant early and harvest before it ends.
Curriculum tie-ins that fit
A hydroponics system earns its shelf space when it doubles as teaching material, and it maps onto CAPS more naturally than most projects. Natural Sciences and Life Sciences get plant nutrition, root systems, photosynthesis and the contrast between growing in soil and water. Mathematics gets real measurement, ratios when mixing nutrients, and weeks of data to tabulate and graph. Technology gets a genuine design problem, since learners can sketch and improve the system itself.
The measurement log is the thread that ties it together. Have learners record water level, room temperature and plant height on a fixed schedule, then use those numbers in a Maths lesson the same week. Older learners can go further by adding sensors, such as a temperature probe in the reservoir or a light sensor at the window, and logging the readings with a programmable board such as the sheenbot∞. That turns a biology display into a small coding and robotics project without needing a second subject slot.
None of this requires a specific supplier. Build the pedagogy first and treat the hardware as interchangeable. When you do want parts, starter components are available through the store, and if you would rather see a full build and lesson sequence run end to end before committing a term to it, our holiday workshops are a low-pressure way to do that.
Your first 30 days
A month takes you from an empty container to a class that reads its own data. Keep the pace gentle so the system and the routine both settle.
- Week 1, build and run dry. Assemble the system, fill it with plain water, and let it sit for a few days. Check for leaks, learn how much water it holds, and settle it in its final spot before any seedlings go in.
- Week 2, plant and label. Transplant seedlings or sow into the growing medium, mix nutrients to the recommended strength, and set up the measurement log. Assign the first plant monitors.
- Week 3, measure and adjust. Learners record water level, room temperature and plant height twice in the week. Top up nutrients, check pH if you have a kit, and note the first signs of growth.
- Week 4, read the data. Graph the numbers, compare plants, and let learners explain what changed and why. By now the system holds steady for a day or two on its own, which is exactly what you want before any break.
Takeaway
Classroom hydroponics is less demanding than it looks once you make the easy choices early. Pick a non-circulating system, site it in good light near water, grow leafy greens first, and plan the crop around the term and its holidays rather than against them. Fold the measurement into your Maths and Science lessons so the project pays for the time it takes, and a modest shelf of lettuce becomes a running, self-documenting experiment the whole school ends up watching.
Frequently asked questions
Which crops are easiest to start with?
Leafy greens and herbs. Lettuce, spinach, rocket, Asian greens, basil and mint grow fast, stay compact and forgive the odd missed top-up, and they fit inside a single term. Leave fruiting plants like tomatoes, peppers and strawberries until the class has one successful crop behind it.
Do we need special grow lights?
Not always. A window with steady daylight is often enough for leafy greens. If your only spot is dim, or growth looks stretched and pale, a basic LED grow light on a plug timer fixes it and keeps growth even through cloudy stretches. Consistent light beats a few hours of harsh direct sun.
What happens to the system over the holidays?
Plan the crop to end with the term. Before a long break, harvest what is ready, empty and clean the reservoir, and start the next crop when everyone returns. A well-filled non-circulating system can coast through a short between-term break, but the five-week summer holiday is too long to leave a live system unattended in the heat.
What ages is classroom hydroponics suitable for?
All phases, with the depth adjusted. Younger learners plant, water and watch, describing what they see. Older learners take on the measurement, the graphing and the nutrient ratios, and the most confident add sensors and logging to make it a coding project. If you want a guided run first, a single trial session lets you experience the full sequence before building one yourself.